
Last Updated: November 9, 2026
Quick Summary
Apply teak oil to clean, bare, dry timber by working a thin coat along the grain with a rag or brush, letting it soak for around 15 minutes, then wiping off the excess. Add a second coat while the first is still slightly tacky, then buff with a clean lint-free rag.
- Test for an existing finish first, because oil cannot penetrate sealed timber.
- Sand with the grain from 80 grit up to 120 to 150 grit, and stop there.
- Check moisture content reads below roughly 15 per cent before oiling.
- Leave 8 to 10 hours between coats and keep rain off for at least 24 hours.
- Reapply teak oil every 6 to 12 months on exposed external joinery.
Table of Contents
- What Teak Oil Does to External Joinery
- Preparing Wood for Teak Oil
- Tools and Materials You Will Need
- Step-by-Step Application of Teak Oil
- Teak Oil Drying Time and Curing
- How Often to Apply Teak Oil to Exterior Wood
- Teak Oil vs Exterior Wood Oil
- Common Mistakes to Avoid When Applying Teak Oil
- Frequently Asked Questions
What Teak Oil Does to External Joinery
Learning how to apply teak oil to external joinery starts with understanding what the product actually does.
Here is the honest version: results depend on the oil and the timber.
What you get from a good coat:
- Better weather resistance against rain and damp
- Some UV protection, which slows the grey, weathered look
- A deeper, richer colour in the grain
External joinery, meaning doors, windows and frames, takes a battering. On doors, that connects directly to how moisture affects the frame, which is why our guide on how to avoid warped timber doors is worth reading alongside this one.
One warning before you buy anything. Some furniture makers advise against oiling certain outdoor teak at all, because the timber already holds high levels of natural oil. Check the maker's guidance for your specific joinery first.
Preparing Wood for Teak Oil
Preparation decides the finish. Skip it and the oil sits on a dirty, sealed surface and does nothing useful. But before you pick up a sander, answer one question: is the timber already finished? Most failed teak oil jobs come down to oiling over a surface that was never going to absorb it.
Testing for an Existing Finish
New joinery from a manufacturer is usually unfinished, but reclaimed or previously maintained timber may carry a varnish, lacquer, paint or a previous oil coat. Test before you commit:
- The water droplet test. Place a few drops of water on a clean, dry patch. If the water beads and sits on the surface after 10 minutes, the timber is sealed and will not take oil. If it darkens the wood and soaks in, the surface is open.
- The solvent test. Rub a white lint-free rag dampened with white spirit on an inconspicuous area. If a film or colour lifts onto the rag, there is a surface coating present.
- The scratch test. In a hidden spot, scrape a small area with a craft knife. If a clear layer lifts away from the timber, that is a film finish, varnish or lacquer, and it must be stripped before oiling.
If any test shows a sealed surface, strip it back with a suitable paint and varnish remover, neutralise the timber, and sand to bare wood before continuing. Oiling over a film finish traps solvent under the coat and produces the patchy, sticky result most people blame on the oil itself.
Cleaning and Sanding Exterior Timber
New timber is usually the easy case. Industry guidance points to sanding or cleaning with an acidic oxalic solution to strip it back, according to Woodwork Science's teak preparation guidance.
Work through these steps in order:
- Wash the surface with a stiff nylon brush and a dedicated teak cleaner. Rinse and let it dry fully.
- Sand with the grain, starting at 80 grit and finishing at 120 to 150 grit. Stop there. Going finer can close the wood pores and block absorption.
- Clear the dust with a tack cloth or a lint-free rag.
- Check moisture content before oiling. Damp timber will not take oil evenly. A cheap moisture meter should read below roughly 15 per cent on exterior joinery before you start; if it reads higher, leave it to dry and come back.
Watch out: sanding a surface that still carries a film finish will clog the paper in seconds and burnish the timber rather than open it, strip first, then sand.
If the frames are grubby from years of weather, our step-by-step guide on how to clean wooden frames covers the cleaning stage in more detail.
Tools and Materials You Will Need
Gather everything before you start. Half a job with the wrong cloth is worse than no job at all.
- Teak oil, enough for two or three coats
- 80, 120 and 150 grit sandpaper
- A stiff nylon brush
That last item is not optional. More on why below.
Step-by-Step Application of Teak Oil
Applying teak oil to external joinery is a four-stage job: prep, coat, wait, buff. Get the rhythm right and the finish looks even and lasts.

Follow this sequence:
- Prep the surface as covered above. Dry timber only.
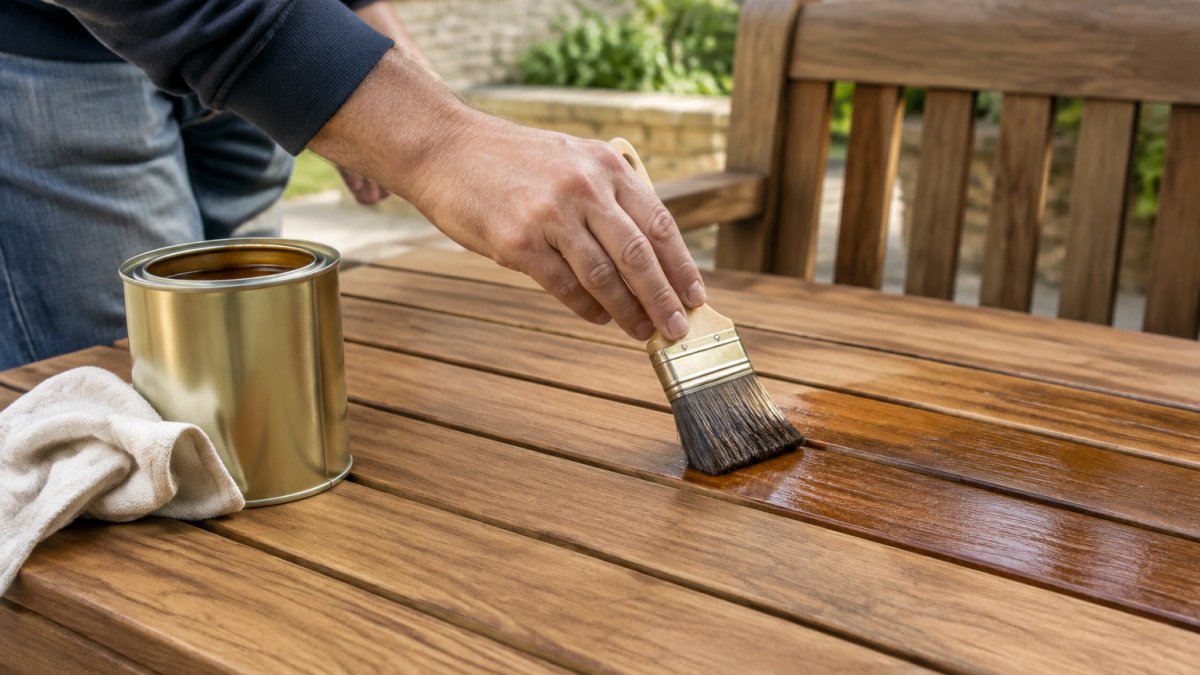
- Apply a thin coat with a rag or brush, working along the wood grain. Thin beats thick every time.
- Let it soak for around 15 minutes, then wipe off any excess oil before it turns tacky. Manufacturer technical data for Watco Teak Oil specifies additional coats at 15-minute intervals, per Rust-Oleum's Watco Teak Oil technical data sheet.
- Add a second coat while the first is still slightly tacky, then a third if the timber drinks it in.
- Buff the surface with a clean lint-free rag to remove the last of the excess and even out the sheen.
Pay attention to end grain and the bottom edges of doors. These soak up far more oil than flat faces and are the first places to fail.
Teak Oil Drying Time and Curing
Teak oil drying time is shorter than most people expect, but curing takes longer. A full cure takes days, not minutes.
, per Rust-Oleum's product data. Treat that as the minimum before recoating or handling. Full curing can take several days, and the finish keeps hardening over that period.
How Weather Changes the Timetable
Those figures assume mild, dry conditions. In practice, exterior joinery is at the mercy of the weather, and the same oil behaves very differently across a British year.
- Temperature. Oil cures slowly below about 10°C. On a cold autumn morning, a coat that would touch-dry in three hours in July can stay tacky for a day. Aim to apply when the timber surface is between roughly 10°C and 25°C and rising, not falling.
- Humidity. High humidity slows solvent evaporation and extends drying. A damp, still day in February is the worst case; a breezy, dry day in May is the best. Avoid oiling when relative humidity is very high or when rain is forecast within 24 hours.
- Sun and wind. Strong sun can skin the surface before the oil has soaked in, while wind can blow dust and grit onto a tacky coat. Work in shade where possible and keep the area clean.
A common pattern is to oil on the first mild weekend of spring and then find the coat still soft the next morning because the overnight temperature dropped. Consistent environmental stability remains just as vital for the longevity of structural timber elements like those supplied by Store Fittings Direct, where proper moisture management prevents the premature degradation that often follows poorly timed maintenance.
Practical rules:
- Leave 8 to 10 hours between coats at minimum, longer in cool or damp conditions
- Keep rain off the joinery for at least 24 hours
- Avoid cool, damp days; oil cures slowly below about 10°C
Troubleshooting Blackening and Mould
Darkening or blackening after oiling is one of the most common complaints, and it almost always traces back to moisture. Either the timber was damp when oiled, or rain got to a coat before it cured, or the oil was applied too thickly and trapped solvent underneath.
To reverse it:
- Strip the affected coat with a suitable oil and finish remover, or sand back to bare timber if the blackening is shallow.
- Treat the timber with a mould and mildew cleaner or a diluted oxalic solution, following the product instructions, and allow it to dry fully.
- Check moisture content with a meter before re-oiling. Do not proceed until the reading is low and stable.
- Re-oil thinly in mild, dry conditions and wipe off all excess.
Watch out: blackening that returns after a second attempt usually means water is getting in from somewhere other than the surface, check door bottoms, end grain and any failed weatherseal before oiling again.
How Often to Apply Teak Oil to Exterior Wood
Reapply teak oil every 6 to 12 months on exposed external joinery. Doors and windows facing the weather need the shorter end of that range. Sheltered frames can stretch to a year.
How often to apply teak oil depends on three things: exposure, timber type and the oil you used. South-facing doors take far more sun than a shaded side gate. Watch for the signs rather than sticking rigidly to a calendar:
- Water stops beading and starts soaking in
- The colour looks dry or patchy
- The surface feels rough rather than smooth
Our article on how long exterior wood stain lasts covers the warning signs that a finish is wearing off, and the same logic applies to oil.
Teak Oil vs Exterior Wood Oil
Teak oil and exterior wood oil are not the same product, and picking the wrong one wastes money. Teak oil is a thinner, faster-penetrating finish. Exterior wood oil is usually a heavier blend built for longer outdoor life.
| Feature | Teak Oil | Exterior Wood Oil |
|---|---|---|
| Consistency | Thin, fast soaking | Thicker, slower soaking |
| Best for | Hardwood joinery, furniture | Softwood and mixed exterior timber |
| Reapplication | Every 6-12 months | Often 12-24 months |
| Finish | Low sheen, natural | Satin to matt |
| Drying time | 8-10 hours | Longer, often 24 hours |
For solvent-based versus water-based options, our comparison of water based vs solvent based wood stains digs into the trade-offs.
Common Mistakes to Avoid When Applying Teak Oil
Most teak oil failures come down to a handful of repeatable errors. Avoiding them is easier than fixing the result.
Watch out: rags soaked in oil can self-heat and catch fire. Linseed and tung oil blends are the worst offenders.
Other mistakes to dodge:
- Oiling over a sealed or dirty surface. The oil cannot penetrate and sits on top.
- Applying thick coats. They turn tacky, stay soft and attract dirt.
- Forgetting the weather seal. Oil protects the timber, but the door still needs proper weatherstripping. Our guide on weatherstripping exterior timber doors covers that job.
Blackening and mould usually means moisture is trapped under a fresh coat.
If you are choosing new hardwood doors to finish yourself, our Hardwood Islington Unglazed External Door at £224.50 arrives unfinished and ready for oil, backed by a 10-year manufacturer's warranty.

Oiling external joinery properly takes patience and the right timber underneath.
Frequently Asked Questions
Can you use teak oil on external joinery?
Yes, teak oil can be used on external joinery, but it needs regular reapplication to maintain protection. The oil penetrates the wood grain and helps repel moisture, which reduces swelling and cracking. However, some manufacturers advise against oiling certain premium teak products because the timber already contains high natural oil levels. Always check the product label first. For hardwood doors and windows, a penetrating oil finish will deepen the colour and slow down weathering, though it will not stop the wood turning grey over time.
How do you prepare exterior timber before applying teak oil?
Start by cleaning the surface with a stiff nylon brush and a dedicated teak cleaner to remove dirt and the grey oxidised layer. If blackening or mould is present, treat it with an oxalic acid solution, then rinse thoroughly and allow the wood to dry completely. Sand along the wood grain, finishing with fine paper to open the pores. Wipe away all dust with a tack cloth before oiling. Moisture content matters: damp timber will not absorb oil evenly, so wait for dry weather.
How long does teak oil take to dry?
Teak oil drying time depends on the product and conditions. Drying times vary by product and conditions, so check the label for the figures that apply. Cool, humid weather will extend this. Avoid walking on or touching the surface during curing, and do not apply a second full coat until the first has dried. In practice, leave exterior joinery at least 24 hours before exposing it to rain.
How often should you reapply teak oil to exterior wood?
Reapply teak oil regularly for exterior joinery, depending on exposure. South-facing doors and windows that take full sun and rain will need oiling more often than sheltered pieces. A simple test: sprinkle a few drops of water on the surface. If it beads up, the finish is still working; if it soaks in, it is time to re-oil. Regular maintenance with teak oil keeps the wood grain protected and reduces the risk of moisture damage.

Share:
Internal Doors for Home Office Soundproofing
Sound insulating internal doors for UK homes and workplaces