
Last Updated: November 5, 2026
Quick Summary
Calculating window clearance means separating operating clearance, the working gap around the moving sash, from installation allowance, the gap between frame and rough opening. Installation allowance per side equals the largest opening deviation plus fixing and packer depth plus material movement allowance, so a timber frame in a 1196 mm opening works out to 17 mm per side.
- Measure width and height at three points each and use the smallest reading.
- Timber frames typically need 10-15 mm per side plus a movement allowance.
- An opening out of square by more than about 10 mm across the diagonal needs making good first.
- Record sash gaps at top, middle and bottom on both the hinge and opening sides.
- A 60 mm sash at 100° blocks about 59 mm of the clear opening width.
Table of Contents
- What Window Clearance Actually Means Before You Measure
- Step 1: Measuring Window Openings and Frame Dimensions
- Step 2: Window Frame Fitting Tolerances and Installation Allowance
- Step 3: A Window Sash Clearance Measurement You Can Repeat
- Step 4: Casement Window Measuring Guide for Opening Width and Angle
- Step 5: Diagnosing Rubbing, Binding and Uneven Gaps
- Step 6: A uPVC Window Adjustment Guide for Catching Sashes
- Step 7: Test Operation, Sealing and Checking Clearance Over Time
- Frequently Asked Questions
What Window Clearance Actually Means Before You Measure
Window clearance is the gap between moving and fixed parts of a window that lets the sash travel without rubbing. Get it wrong and the window drags, sticks or fails to close flush. Poor clearance is one of the most common causes of fitting problems, and getting it right from the start saves a lot of rework.
There are two clearances to think about, not one.
- Operating clearance is the working gap around the sash as it moves.
- Installation allowance is the extra space you leave when fitting a frame into a rough opening.
Confuse the two and your measurements will be off before you've cut a single piece of timber. Below, we'll show you exactly how to calculate both, step by step, so the finished window opens smoothly for years.
Step 1: Measuring Window Openings and Frame Dimensions
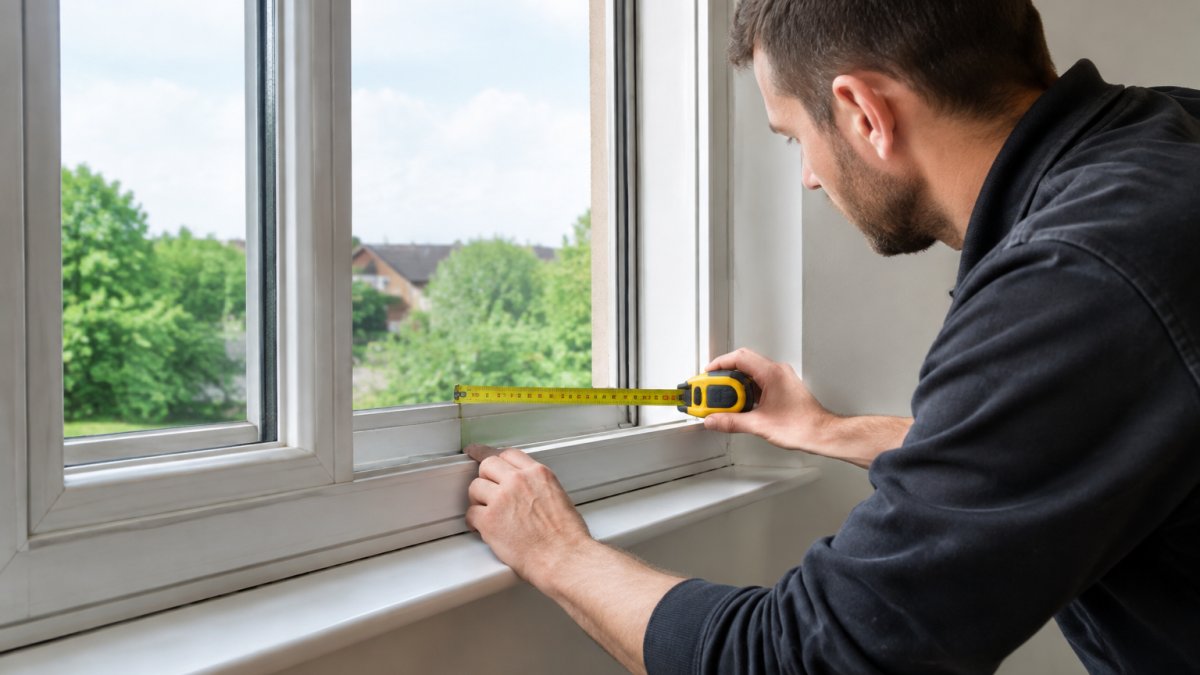
Start by measuring the opening itself, not the old window. Measure the width at the top, middle and bottom. Then measure the height at the left, centre and right. Use the smallest figure in each direction.
Recording Width, Height and Internal Corner Measurements
Write down three width readings and three height readings. Note the internal corner depth too, since a square corner tells you the frame will sit true.
If your openings aren't standard sizes, our guide to measuring non standard window openings walks through the method for awkward shapes.
Step 2: Window Frame Fitting Tolerances and Installation Allowance
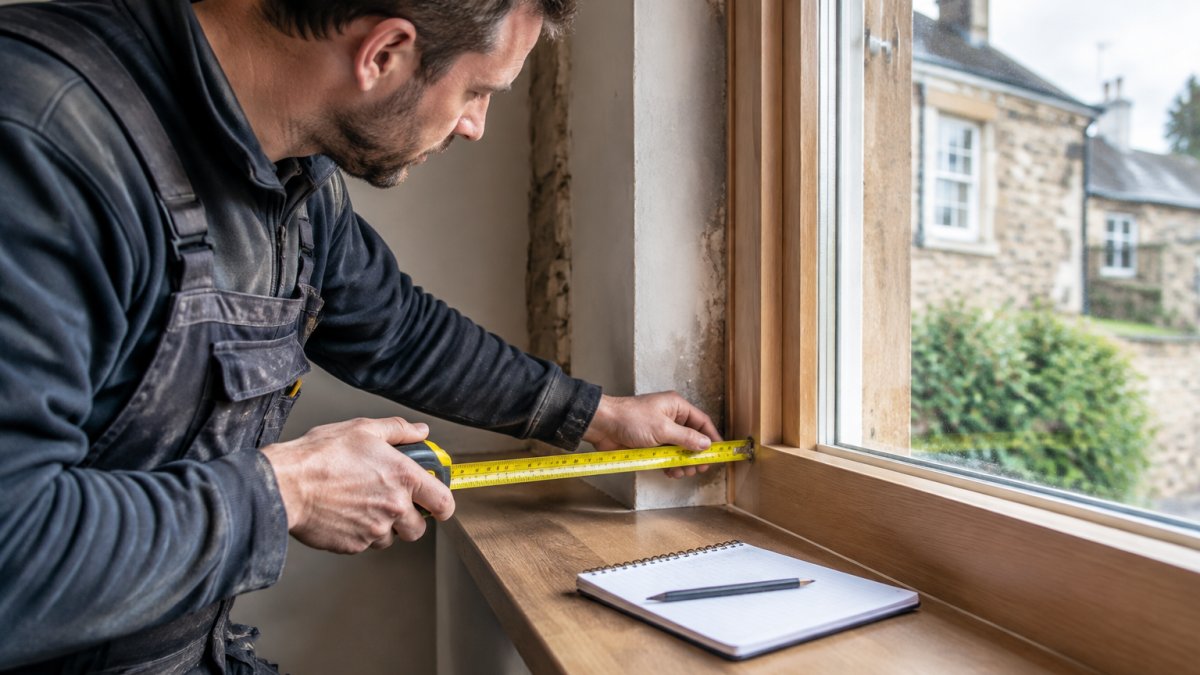
Installation allowance is the deliberate gap between the outer face of the frame and the rough opening. It is not the same as operating clearance, and mixing the two is the most common reason a frame that measured correctly on the bench will not sit true in the wall. Keeping installation allowance distinct from operating clearance helps the frame sit true in the wall, while a careful final check can verify installation quality.
The allowance has to absorb three things at once: the unevenness of the opening, the fixings and packers, and the movement the frame material will experience in service. A repeatable way to calculate it is:
Installation allowance per side = largest opening deviation + fixing/packer depth + material movement allowance
Worked example for a timber frame in an opening measuring 1200 mm wide at the top, 1196 mm at the middle and 1198 mm at the bottom:
- Smallest width reading: 1196 mm.
- Largest deviation from that smallest reading: 4 mm (the top).
- Fixing and packer depth: typically 10 mm per side for a timber frame fixed with frame cramps or screws through packers.
- Timber movement allowance: 3 mm per side is a common starting point for internal joinery; external frames in exposed positions often need 4-5 mm.
That gives an allowance of 4 + 10 + 3 = 17 mm per side, so the frame outer width should be no more than 1196 − (2 × 17) = 1162 mm. If the frame is wider than that, it will either not fit or will be forced, and a forced frame twists, which is exactly what produces binding sashes later.
Typical starting allowances by material, to be checked against the system manufacturer's published figures:
| Frame material | Allowance per side | Notes |
|---|---|---|
| Timber | 10-15 mm plus movement allowance | Movement allowance rises on exposed elevations |
| uPVC | 10 mm | Follow the profile system's installation guide |
| Aluminium | 10-15 mm | Thermal movement is small but fixings need packer depth |
Watch out: if the opening is out of square by more than about 10 mm across the diagonal, packers alone will not correct it, the opening needs making good before the frame goes in, or the sash will bind no matter how carefully you set the hinges.
For period properties, our guide to installing custom wooden window frames in period properties covers how to handle out-of-square openings.
Step 3: A Window Sash Clearance Measurement You Can Repeat
A repeatable window sash clearance measurement comes down to one habit: measure the same three points every time. Check the gap at the top, middle and bottom of the sash on both the hinge side and the opening side.
Record each reading in a simple table so you can compare sides.
| Measurement Point | Hinge Side Gap | Opening Side Gap |
|---|---|---|
| Top | Record in mm | Record in mm |
| Middle | Record in mm | Record in mm |
| Bottom | Record in mm | Record in mm |
An uneven gap points to a hinge or alignment problem, not a sizing one. We'll come to that shortly.
Step 4: Casement Window Measuring Guide for Opening Width and Angle
A casement's usable free aperture is not the same as the structural opening, and it is not the same as the sash size. It is the clear opening you actually get once the sash has swung, and it depends on three measurements: the clear width between the frame reveals, the clear height, and the angle the hinge allows the sash to reach.
Start with the clear opening. With the sash fully open, measure the narrowest clear width between the opening-side frame rebate and the hinge-side edge of the open sash, and the clear height from sill to head. Multiply the two to get the free aperture area in square millimetres, then divide by 1,000,000 for square metres.
Worked example: a casement with a clear opening 520 mm wide and 980 mm high gives 520 × 980 = 509,600 mm², or 0.51 m² of free aperture.
Opening angle changes that figure. A sash restricted to 100° gives less usable width than one that swings to 170°, because the sash itself blocks part of the reveal at smaller angles. A practical approximation for the clear width at a given angle is:
Clear width ≈ clear opening width − (sash thickness × sin(angle from closed))
For a 60 mm sash at 100°, sin(100°) ≈ 0.985, so the sash blocks about 59 mm of the opening. At 170°, sin(170°) ≈ 0.174, so it blocks only about 10 mm. That is why a restrictor that limits swing to 100 mm or 100° can halve the effective ventilation area even though the window still opens.
Restrictors and safety hardware must be subtracted before you quote a free aperture. A common pattern is a restrictor that limits the sash to around 100 mm of opening for child safety; that hardware reduces the clear width by its own body depth plus the sash thickness at that angle. If the window is in a room requiring escape, the free aperture must meet the relevant building regulation escape-opening dimensions, and a restrictor that cannot be overridden will not comply.
Watch out: do not finalise frame position from the free-aperture figure alone. Check the maximum hinge angle against the adjacent wall or reveal, a sash that swings to 170° but hits a return wall at 120° will never deliver the aperture you calculated.
Opening angle also matters for ventilation strategy. A wider swing gives more opening cross-section and better airflow, but it also increases the risk of wind damage to the hinge and of the sash striking the reveal. Note the maximum angle your hinge allows, and confirm the sash clears any external sill or surround through its full arc before you finalise the frame position.
Step 5: Diagnosing Rubbing, Binding and Uneven Gaps
Rubbing and binding almost always trace back to one of three causes:
- The sash is out of square within the frame.
- A hinge has dropped or worn.
- The frame itself has twisted after fitting.
Run a finger along the gap as you open the window. A gap that tightens at one corner tells you where the problem sits. Fix alignment before you touch the seals, or you'll chase draughts that aren't really there.
Step 6: A uPVC Window Adjustment Guide for Catching Sashes
A uPVC window adjustment guide starts at the hinges. Most uPVC hinges have adjustment screws that shift the sash left, right, in or out.
Turn each screw a quarter turn at a time, then test operation. Small moves add up.
If adjustment runs out and the sash still catches, the frame or sash may be beyond saving. At that point, homeowners often look at alternatives to standard uPVC windows for a better long-term fit.
Step 7: Test Operation, Sealing and Checking Clearance Over Time
Test the window by opening and closing it fully several times. It should move with light pressure and close flush against the seal, with no lift needed at the handle.
Then check the weather sealing. Run a hand around the closed frame on a windy day to feel for draughts. If you find any, our guide to sealing drafty windows for winter shows what actually works.
Clearance changes over time as hinges wear and timber moves, so it is worth rechecking periodically.
If you're also weighing up performance, it helps to know what a good U-value looks like for UK windows so you can judge whether the window is doing its job.
Calculating window clearance for smooth operation rewards patience more than precision tools. Measure at multiple points, leave sensible tolerances, and test before you seal.
If you'd rather have frames made to fit your actual openings, Arborfield Joinery is a family-run business trading since 1953, with full manufacturing facilities for bespoke joinery. We also offer expert advice on property suitability, and free UK mainland shipping on orders over £900. Visit the Arborfield Joinery website for current prices or a quote.
Frequently Asked Questions
How do you calculate clearance around a window sash?
Measure the gap between the sash edge and the frame rebate at the top, middle and bottom on both sides, then subtract the tightest reading from the widest. That difference is your operating clearance. A sash needs roughly 2mm to 3mm of even clearance per side to run without binding, and any variation beyond about 1mm across the travel points to a frame that is out of square rather than a sash that needs adjusting.
How much clearance should a casement window have?
Most casement windows need 2mm to 3mm per side between sash and frame, with a slightly larger allowance at the hinge side to account for the swing arc. Too little and the sash rubs as it opens; too much and the seals stop compressing, which lets draughts through. Check the gap at the top, middle and bottom of the opening edge, because a casement that is tight at the bottom but loose at the top usually means the frame is twisted.
Why is my window difficult to open or close?
Binding usually comes from one of four causes: a frame fitted out of square, swollen timber after damp weather, failed or misaligned hinges, or paint and debris built up in the rebate. Run a test operation and watch where the sash contacts first. If the gap closes on one corner only, the frame has moved. If the whole sash is tight, the hinges or the sash itself have swollen. Adjusting hardware fixes the second; the first needs the frame re-fixed.
Can you adjust a uPVC window that is catching?
Yes. Most uPVC windows have adjustment screws on the hinges that move the sash horizontally and vertically, plus keepers on the frame that control compression against the seal. Turn them a quarter to half a turn at a time and test operation after each change. If the sash still catches after adjustment, check the frame diagonals with a tape measure; a difference of more than 3mm means the frame itself is out of square and adjustment alone will not solve it.

Share:
How to choose the right size, style and material for internal doors
Water Based vs Solvent Based Wood Stains: Which to Choose?