
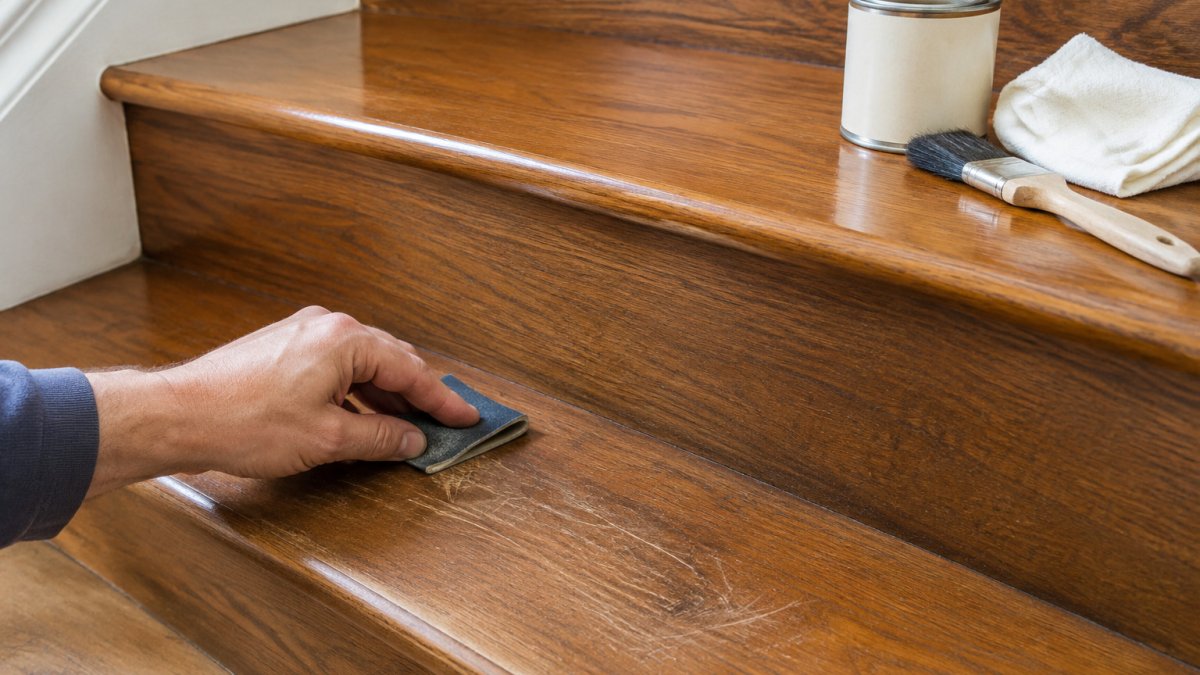
Quick Summary
To repair a scratched wood finish on stairs, first check whether the scratch has gone through the finish by running a fingernail across it. Surface marks can often be polished out, while deeper scratches need cleaning, filling, sanding and a colour-matched touch-up.
- Run a fingernail across the scratch: if it catches, the damage has reached bare wood.
- Clean the tread thoroughly and let it dry fully before any filling or staining.
- Sand along the grain, starting around 180 grit and moving to 240 for a smoother finish.
- Test stain on an offcut or hidden spot and let it dry before judging the colour.
- Keep stairs out of use until the finish has hardened, since rushing causes new dents.
Table of Contents
Assessing the Scratch: Does It Go Through the Finish?
The first question to answer before you touch a tin of stain is how deep the damage goes into the wood finish. A scratch that only marks the top sheen can often be polished out, while one that cuts through to bare timber needs filling and refinishing. Most stair scratches fall somewhere between the two, which is why a quick check matters.
Run a fingernail gently across the mark. If it catches, the scratch has broken through the finish and into the wood itself. If it glides over smoothly, the damage is likely confined to the topcoat. Look at the colour too: bright, pale lines usually mean exposed timber, while darker lines that look like wet paint suggest the finish is intact but scuffed.
Quick depth check:
- Surface only: Smooth under the nail, sheen dulled but colour unchanged
- Through the finish: Nail catches, pale or raw-looking line
- Deep gouge: Visible dent or missing wood fibres
Keep in mind that a shallow mark on a stair tread is still a wear point. Once the wood finish is breached, moisture from shoes and socks can start to work into the grain, so it is worth addressing sooner rather than later.
Safety Checks Before You Start on Stairs
Stairs demand more care than a tabletop or a skirting board. Before you begin, make sure the staircase is stable, that handrails are secure, and that you have a clear route up and down for the whole job. Working on a tread while someone else is using the stairs is a common way for accidents to happen, so close the stairwell off or set up a temporary alternative route.
Ventilation is just as important. Many finishes, strippers and solvent-based stains release strong fumes, so open windows and wear a mask rated for organic vapours. Keep sanding dust out of the air by working with a dust extractor where you can.
Watch out: Never stack wet rags soaked in oil-based finish, since they can self-ignite as they dry. Lay them flat outdoors or submerge them in water in a sealed metal bin.
Choosing the Right Wood Scratch Repair Products
The product you pick should match the depth of the damage and the finish already on the stairs. A wax-based touch-up stick works well on light marks in an existing oil or wax finish. A wood filler is needed for gouges that have lost material. For a varnished or polyurethane finish, a matching topcoat is usually the last step after the colour is blended in.
Pricing depends on the product, pack size and where you buy it, so compare the pack size you need rather than the sticker price alone. For current prices, check the product pages of your chosen supplier or request a quote from Arborfield Joinery. Comparing pack sizes helps keep stair repairs economical, while the same care with finish can also help when restoring dull wood furniture with Arlington Woodworks.
Arborfield Joinery stocks many premium timber products, and our team can advise on which finish suits the timber in your home.
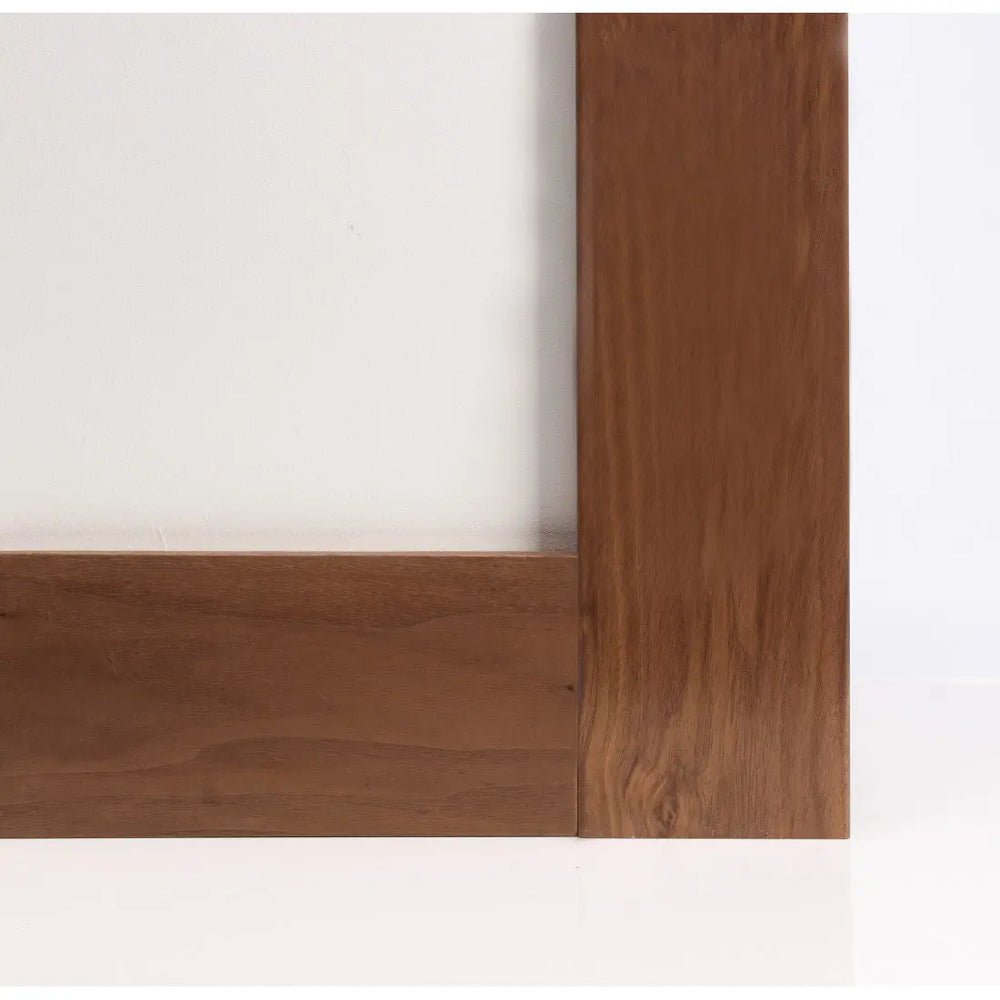
Browse our range of timber staircase options if the damage is extensive enough that you are weighing up replacement treads.
Step-by-Step: Cleaning, Filling and Sanding the Damage
Start by cleaning the tread thoroughly with a mild cleaner and a soft cloth, then let it dry fully. Dirt trapped in the scratch will show through any filler or stain you apply later.
Next, fill any gouges with a wood filler that matches the timber as closely as possible. Press it firmly into the mark, slightly overfilling, and allow it to cure.
Once cured, sand the area using fine-grit sandpaper, working along the grain. Start around 180 grit and move to 240 for a smoother finish. Feather the edges so the repair blends into the surrounding surface.
Common mistake: Sanding across the grain leaves visible cross-scratches that stand out under a stain. Always follow the grain direction.
How to Touch Up Wood Stain on Stairs
Colour matching is where most DIY repairs either disappear or look obvious. Test your stain or touch-up pen on an offcut or a hidden spot first, such as the underside of a stair nosing, and let it dry before judging the colour. Stain looks darker when wet, so wait for it to set.
Apply the stain sparingly with a small brush or cloth, then wipe back any excess so the wood finish looks even. Build colour in thin layers rather than one heavy coat. Blend the edges into the surrounding wood so there is no hard line.
How Long Does Wood Finish Take to Dry?
Drying times for any wood finish depend on the product, the temperature and the humidity. Water-based finishes often feel dry within a few hours but need several days before heavy foot traffic. Oil-based polyurethane takes longer to cure fully. Check the tin for the recommended recovery time, and keep stairs out of use until the finish has hardened.
Rushing this stage is one of the most common reasons a fresh repair gets dented or marked again within days.
Booking Help for Stairs That Need Professional Refinishing
Some damage is beyond a weekend repair, particularly where the timber is worn through or the finish has failed across the whole staircase.
Our team at Arborfield Joinery can advise on whether your stairs are best repaired or replaced. If you are planning a wider project, see how our bespoke staircase manufacturing process works from design through to installation.
Last Updated: November 10, 2026
Frequently Asked Questions
Can you fix scratches on wooden stairs without sanding them?
Yes, for light scratches that have not cut through the finish. Clean the tread thoroughly, then rub a matching wood touch-up marker or a wax-based stick along the scratch and buff gently with a soft cloth. Sanding is only needed when the scratch has gone into bare wood or the finish is damaged across a wider area. Test any product on an inconspicuous part of the stair first, such as the underside of a nosing, to check the colour and sheen before working on the visible tread.
How do you tell whether a scratch has gone through the finish?
Wipe the scratch with a damp cloth. If the scratch looks lighter or shows pale wood fibres, it has gone through the finish into bare wood. If it stays the same colour as the surrounding surface, it is probably only in the topcoat and a touch-up pen or wax may be enough. A fingernail drawn across the mark also helps: if it catches, the damage is deeper than the finish.
What is the best product for touching up scratches on wood stairs?
For shallow scratches, a colour-matched wood touch-up marker or wax stick works well because it sits in the groove without spreading. For deeper gouges, wood filler or putty is needed first, then sanding and a matching stain and topcoat. Choose a product rated for the finish you already have, whether polyurethane, varnish or oil. Pricing varies by brand and pack size, so check current prices on the supplier's website before buying.
Can you use wood filler to repair scratches on stairs?
Wood filler suits deep gouges and chips where the wood itself is missing. Apply it slightly proud of the surface, let it cure fully, then sand it flush with the surrounding grain. Filler does not take stain the same way as wood, so you will usually need to blend the colour with a stain or tinted topcoat afterwards. For scratches that are only in the finish, filler is unnecessary and can make the repair more visible.

Share:
Sound insulating internal doors for UK homes and workplaces
Is Insurance Approved Door Hardware Necessary for Your Home?