
Table of Contents
- Why Wooden Staircases in Period Properties Need Specialist Care
- Inspect Your Wooden Staircase: What to Check First
- How to Clean Wooden Stairs Without Damage
- How to Stop Wooden Stairs Creaking: Tightening and Reinforcement
- Best Oil for Wooden Stairs and Surface Protection
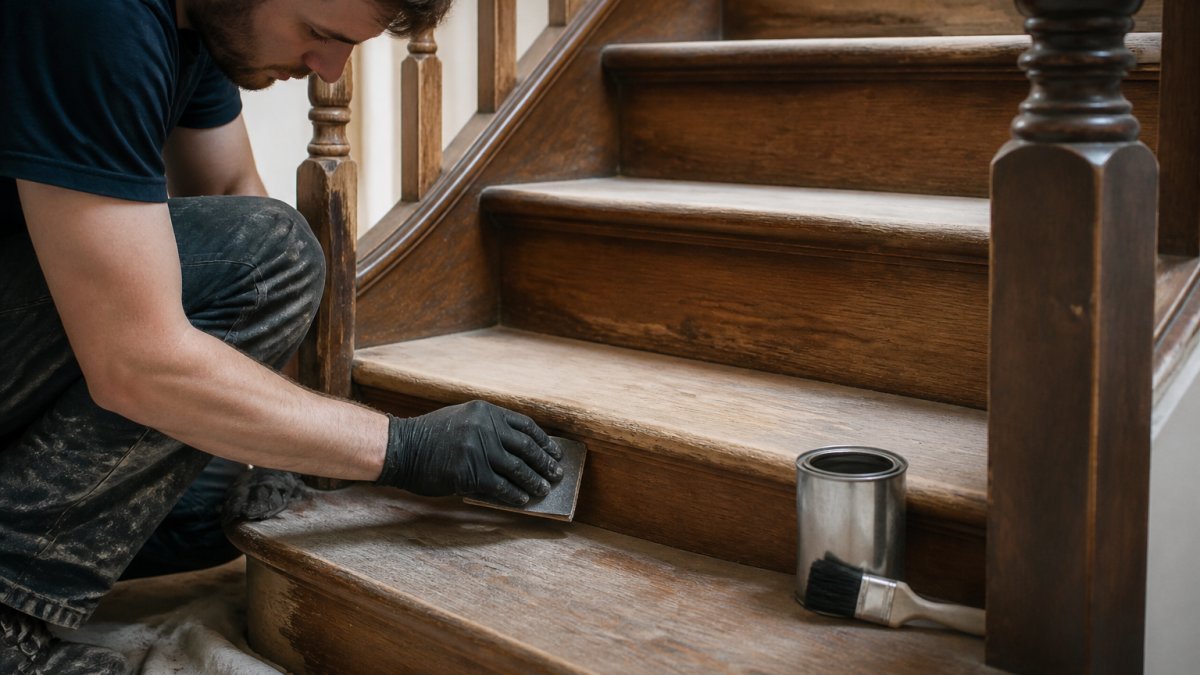
- How to Restore an Old Wooden Staircase: Sanding and Refinishing
- When to Call a Conservation Specialist
- Create a Maintenance Schedule for Long-Term Care
- Frequently Asked Questions
Last Updated: October 18, 2026
Why Wooden Staircases in Period Properties Need Specialist Care
To maintain wooden staircases in period properties, you must take a different approach than with modern stairs.
Period staircases move, settle, and respond to humidity in ways newer construction doesn't, so generic maintenance advice often fails, a technique that works on a contemporary staircase can damage a Victorian or Georgian one.
The real issue isn't dust or dirt, it's that most homeowners don't know what to look for before problems become expensive.
This guide covers inspection, cleaning, repairs, and when to call a specialist, so you'll know exactly what your stairs need to last another century.
Inspect Your Wooden Staircase: What to Check First
Inspect carefully before you clean or repair anything, so you understand the wood type, the finish, and the current condition.
Identifying wood species and historic finishes
Different woods behave differently. Pine, common in Victorian homes, is softer and more prone to denting than oak.
Historic finishes also tell a story. Many period staircases were originally sealed with shellac or wax, not modern polyurethane varnish.
Check the underside of a tread or riser if you can, where the original finish often survives protected from foot traffic.
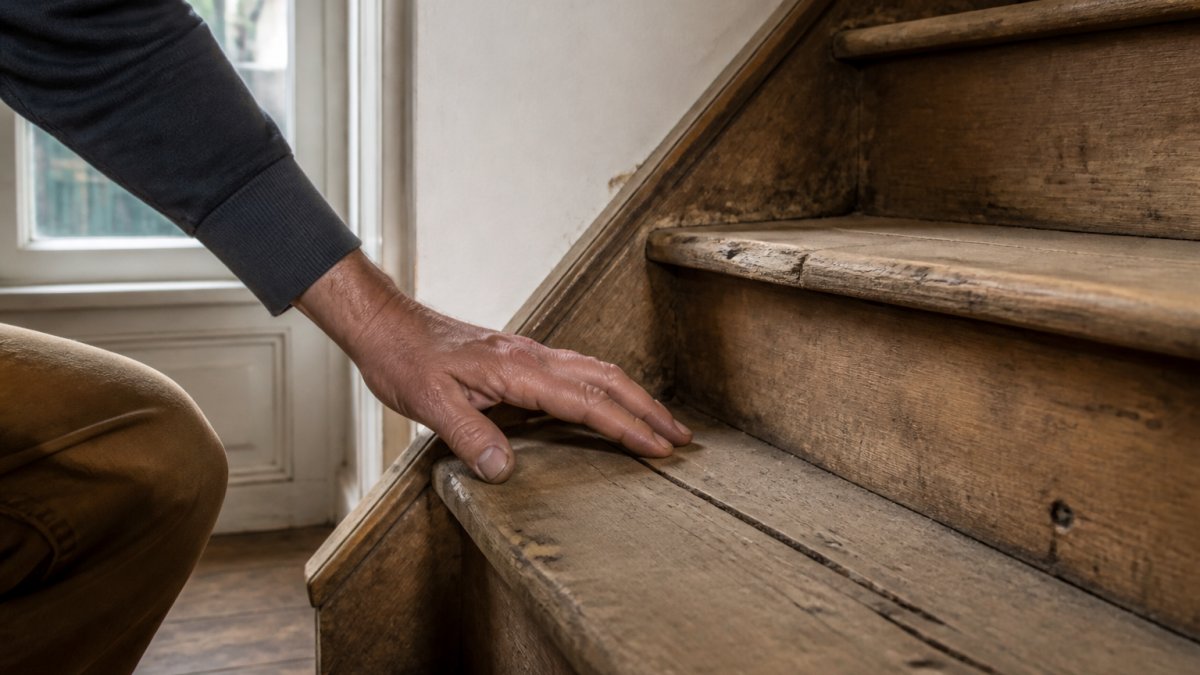
Run your hand along the grain.
Spotting moisture damage and seasonal movement
Moisture is the enemy of wooden staircases. It swells wood, stresses joints, and creates conditions for rot and woodworm, and it's invisible until damage is advanced.
Press firmly on treads and risers with your thumb; the wood should feel solid. If it gives, or you see discolouration, moisture has penetrated deeper than the surface. Look for:
- Dark staining (often a sign of old water damage or condensation)
- A musty smell near the base of the staircase (indicates damp)
- Visible gaps between treads and risers that change with seasons (normal movement, but worth monitoring)
- Cracks that follow the grain (usually safe; cracks across the grain can indicate structural stress)
Period properties often have damp basements or ground floors, and rising damp can travel up through the stringers (the side supports), especially in Victorian terraced houses.
Seasonal movement is normal: wood expands in humid summers and contracts in dry winters.
How to Clean Wooden Stairs Without Damage
Cleaning wooden stairs seems simple, but the wrong approach can strip finishes, leave water marks, or damage the grain. The key is gentle and infrequent.
Routine dust and dirt removal
Dust and grit are abrasive, gradually wearing the finish like sandpaper underfoot. Remove them regularly.
Use a soft-bristle brush or vacuum brush attachment, which won't scratch the finish; hard bristles can mark softer woods like pine.
Between vacuums, a dry microfibre cloth traps dust without scratching. Wiping each tread and riser takes five minutes and keeps the staircase looking fresh.
Using damp cloths and microfibre mops safely
Water can seep into joints, raise the grain, and leave marks, but sometimes dry cleaning isn't enough.
Use a damp cloth, not a wet one, wrung out so it's barely moist.
A lightly dampened microfibre mop works well: mop one or two stairs, then dry with a separate dry microfibre cloth.
Test your method on an inconspicuous area first, such as the underside of a bottom step.
Protecting wood from excess moisture
Prevention is easier than repair. Keep humidity stable; period properties often have poor ventilation that traps moisture, so open windows regularly, especially after cooking or bathing.
If your stairs are near a kitchen or bathroom, wipe spills immediately and don't let cooking or shower steam settle on the staircase.
Check the base of your staircase regularly.
How to Stop Wooden Stairs Creaking: Tightening and Reinforcement
Creaking is annoying, but it's also a signal: something is moving, usually a loose tread or riser, or joints that have shifted slightly.
Identifying loose treads and risers
Walk up the stairs slowly and listen.
Press down firmly on each tread. A little give is normal, but significant movement means the tread isn't properly secured to the stringers underneath.
Wiggle each tread gently where it meets the riser.
If you can access the underside, you'll see how the staircase is built: wedges between tread and stringer, glue blocks in the corners, and fasteners.
Regluing joints and wedges
Most creaking in period staircases comes from failed glue joints.
If you're confident with basic carpentry, you can reglue loose joints yourself. You'll need:
- Woodworking glue (PVA or hide glue, not super-glue)
- Thin wooden wedges or shims
- Clamps or heavy weights
- A rubber mallet
- Cleaning cloths
The process: gently tap loose wedges out from underneath using the rubber mallet. Clean out old glue with a chisel or scraper.
This is time-consuming but effective: a single loose tread can take 2-3 hours to reglue properly. If multiple treads are loose, or you're uncomfortable working underneath a staircase, hire a joiner.
Best Oil for Wooden Stairs and Surface Protection
The finish on your stairs protects the wood. Maintain it, and your stairs will last another 100 years. Neglect it, and the wood deteriorates.
Choosing safe products for period finishes
Not all oils and finishes are right for period staircases. Modern polyurethane varnish is durable but looks wrong on Victorian stairs. It's too glossy and plastic-looking.
For period properties, consider:
- Beeswax and turpentine paste: Traditional, soft sheen, easy to apply and reapply. Requires more frequent maintenance but looks authentic.
- Linseed oil: Penetrates the wood, enhances grain, develops a patina over time. Slower drying than modern products.
- Shellac: Historic finish, warm amber tone, easy to touch up. Less durable than varnish but more authentic.
- Modern water-based varnish: Clear, low odour, easy cleanup. If you choose this, opt for a satin finish, not gloss.
Before applying any finish, test it on a hidden area, underneath a bottom step, for example.
Never mix products. If your stairs have a shellac finish, don't apply polyurethane over it. The new finish won't adhere properly.
Application method and frequency
Less is more with wooden stair finishes. A thin, well-maintained coat lasts longer than a thick, neglected one.
For oils and waxes:
- Apply thin coats using a soft cloth or brush
- Work with the grain
- Buff away excess with a clean cloth
- Allow full curing time (check product instructions, usually 24-48 hours)
- Reapply every 1-2 years, or when the surface starts to look dull
For varnish:
- Sand lightly between coats with fine-grit sandpaper (220+ grit)
- Apply thin coats rather than one thick coat
- Allow full curing between coats
- Reapply every 3-5 years depending on foot traffic
The key is regular maintenance. One coat of oil applied annually is better than three coats applied once and then ignored for ten years.
How to Restore an Old Wooden Staircase: Sanding and Refinishing
Sometimes cleaning and repairs aren't enough. The finish is too damaged, or you want to restore the staircase to its original appearance. Sanding and refinishing is the solution, but it's a significant undertaking.
Assessing whether sanding is appropriate
Not every staircase needs sanding. If the finish is intact and just needs cleaning and maintenance, sanding is unnecessary. Sanding removes the patina and character that make period stairs valuable.
Consider sanding only if:
- The finish is heavily worn, scratched, or water-damaged
- You're restoring a staircase that's been painted or covered with carpet for decades
- The wood underneath is genuinely beautiful and worth revealing
- You're prepared for the time and cost involved
If the staircase has original historic finishes (shellac, wax, or linseed oil), sanding removes evidence of the original craftsmanship. Document the original finish before sanding. Take photos. It's part of the staircase's history.
Preparing surfaces and removing old carpet or coverings
If your period staircase has been covered with carpet, removing it reveals what's underneath. Sometimes it's beautiful original wood.
Remove carpet carefully. Pull staples and nails without damaging the treads.
Before sanding the entire staircase, sand a small test area on an inconspicuous step. This shows you what the wood will look like when refinished.
Sanding a full staircase is labour-intensive. Each tread and riser needs careful attention.
Applying varnish or protective finishes
Once sanded, the wood is exposed and needs protection immediately. Don't leave it bare for more than a few days.
Choose a finish that suits the staircase's era and your maintenance preferences:
- Shellac: Warm tone, traditional appearance, easier to touch up. Requires more frequent recoating.
- Linseed oil: Natural look, develops character over time. Penetrating finish that doesn't create a surface layer.
- Water-based varnish: Modern, durable, low odour. Satin finish looks better on period stairs than gloss.
Apply thin coats, allowing full curing between each. Three to four thin coats provide better protection than one or two thick coats.
The first coat is critical, it seals the raw wood and prevents blotching. Use a quality brush or applicator. Cheap brushes shed bristles into the finish.
When to Call a Conservation Specialist
Some jobs are beyond DIY. Knowing when to call a professional saves time, money, and protects your staircase.
Call a specialist if:
- The staircase has significant structural damage (cracked stringers, broken treads, or widespread rot)
- You suspect woodworm or other pest damage
- The staircase is listed or in a conservation area and needs sensitive restoration
- Multiple treads are loose and you're not confident regluing them
- Rising damp is affecting the base of the staircase
- The staircase is valuable and you want expert advice before any work
A conservation joiner can assess the staircase properly, identify issues you might miss, and recommend period-appropriate solutions. They'll also know local building regulations if your property is listed.
At Arborfield Joinery, we work with homeowners on period staircase projects regularly. We can advise on materials and finishes.
Create a Maintenance Schedule for Long-Term Care
The best way to maintain wooden staircases is through consistent, gentle maintenance.
| Task | Frequency | Time Required |
|---|---|---|
| Vacuum or brush stairs | Weekly | 5-10 minutes |
| Damp-wipe treads and risers | Monthly | 10-15 minutes |
| Inspect for loose treads or damage | Quarterly | 10 minutes |
| Reapply oil or wax finish | Annually | 30-60 minutes |
| Professional inspection | Every 2-3 years | Varies |
Print this schedule and post it somewhere visible. Consistency matters more than intensity.
Document any changes. If a creak develops, note when it started and whether it's getting worse.
Wooden staircases in period properties are built to last centuries.
If you're unsure about any aspect of maintenance, restoration, or repair, Arborfield Joinery is here to help.
Frequently Asked Questions
What is the best oil to use on wooden stairs?
For period wooden staircases, use oils compatible with the existing finish. Tung oil and Danish oil are traditional choices that enhance grain while remaining breathable, important for solid timber that moves seasonally. Always test on an inconspicuous area first. Modern polyurethane finishes require different maintenance; if unsure of your finish type, consult a specialist before applying oil. Reapply annually or when the surface dulls.
How often should you clean and maintain wooden stairs?
Vacuum or soft-brush weekly to remove grit and dust that accelerates wear. Damp-cloth cleaning monthly prevents dirt accumulation. Inspect treads, risers, and joints quarterly for loose components or moisture damage. Reapply protective oil annually, or every 18 months if stairs see heavy use. Period properties may need more frequent checks if humidity fluctuates seasonally, as timber movement can loosen fixings.
How can you stop wooden stairs from creaking?
Creaks usually signal loose treads, risers, or wedges. Access the underside if possible and check for movement at joints. Reglue loose components using appropriate wood adhesive, then reinforce with screws or wedges. If underside access is difficult, try driving screws through risers into treads from the front, use countersunk heads and fill. Seasonal wood movement causes creaks to return; periodic re-tightening is normal in period properties.
Should you sand an old wooden staircase?
Sanding removes historic finishes and patina, consider conservation value first. If the staircase is listed or historically significant, consult a specialist before sanding. For non-listed stairs, light sanding addresses surface wear; full stripping requires careful planning to preserve wood character. Assess whether repairing and refinishing existing surfaces is sufficient. If sanding proceeds, use medium-grit paper and work with the grain to avoid damage.
Share:
Benefits of Triple Glazed Timber Windows
Internal Oak Cottage Doors: How to Choose the Right Style in 2026